Since I had the opportunity and honor to visit Yohan555’s place and try out his cells, I had this growing idea of wanting to build one in my home. One day in spring 2025, I woke up inside of Yohan’s padded cell and told myself “no, really, I need to build one”.
Caution and planning
I knew in advance how big of a project it would be, I worked on it mostly alone for weeks. It was complex, intense and draining, but I had intense motivation to keep doing it !
I was very inspired by Yohan555’s designs and I took what I thought were good ideas into my design : the light placement on top with indirect light, the false ceiling, the ventilation,…
Then in the summer 2025 I took a drawing software and started drawing plans for my cell. I will need to build a new wall into my basement, a job which I have never done before, and I had no clues about how to do it. When I was confident enough, I ordered raw materials.

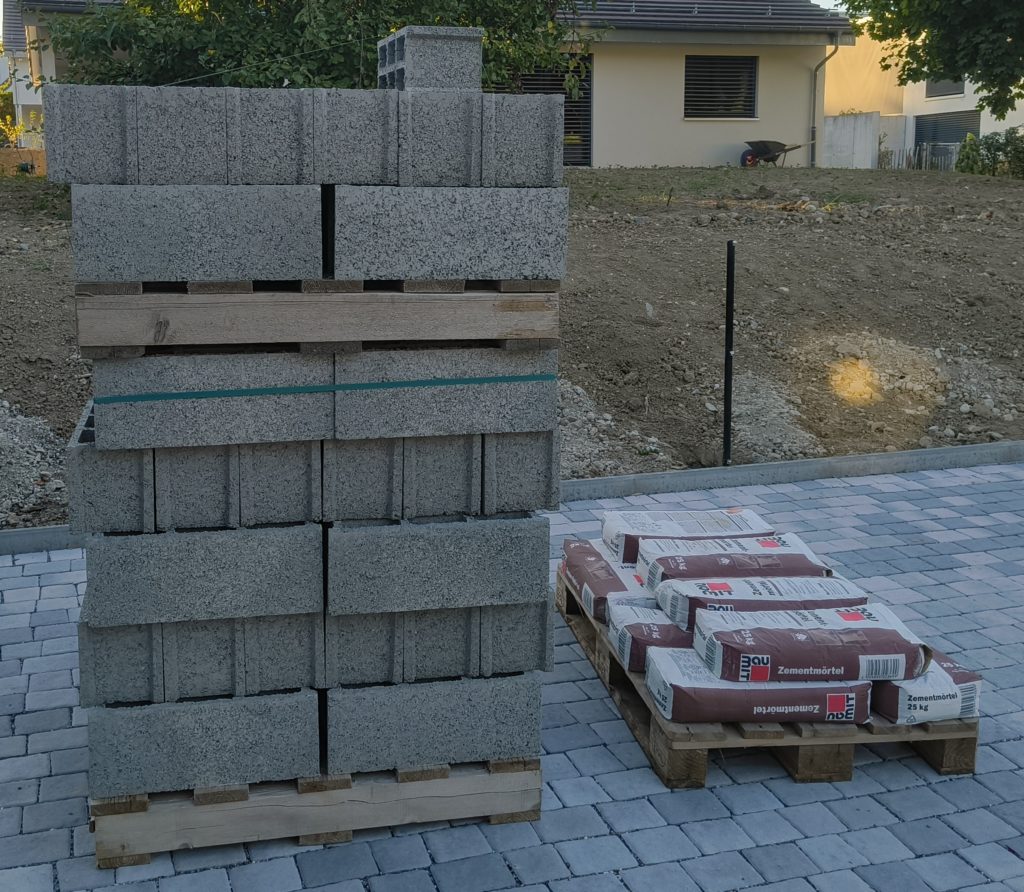
Heavy materials
To build this new wall, I ordered about 80 concrete blocks, 10 bags of mortar, it’s 1’800 kg of raw materials !
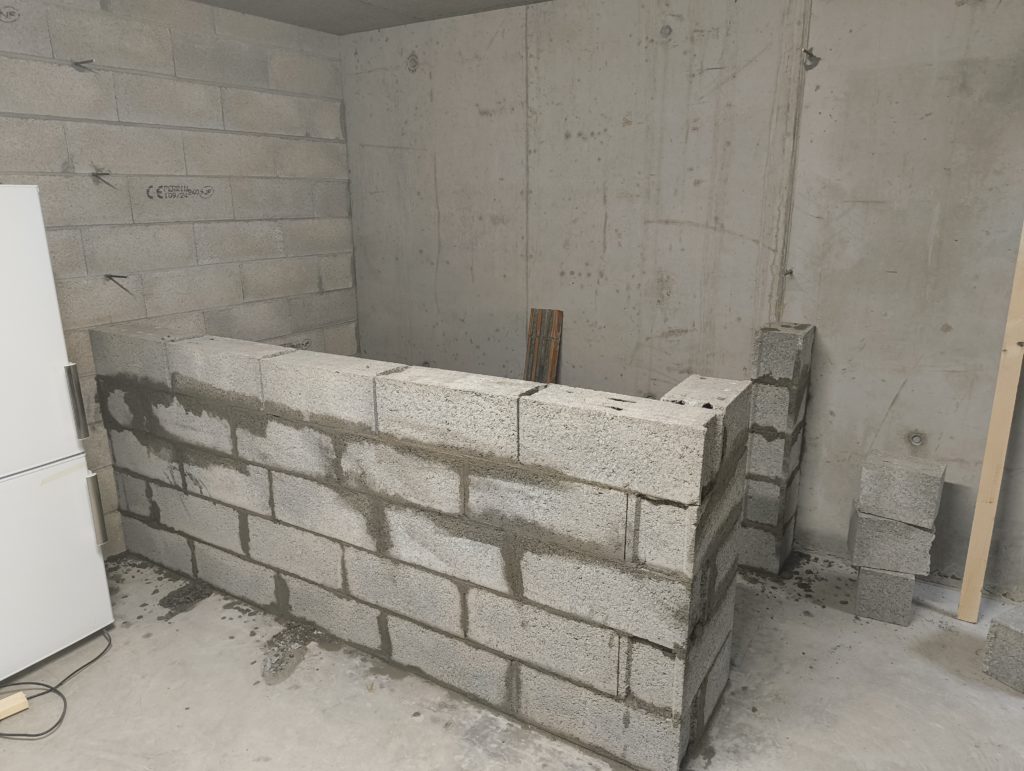
I then proceed to build my wall in the basement. I anchored pieces of rebar in the wall to bond my new wall with existing walls.
When my masonry comes to an end, I got my safety door delivered and I start building the false ceiling frame.
Inside works
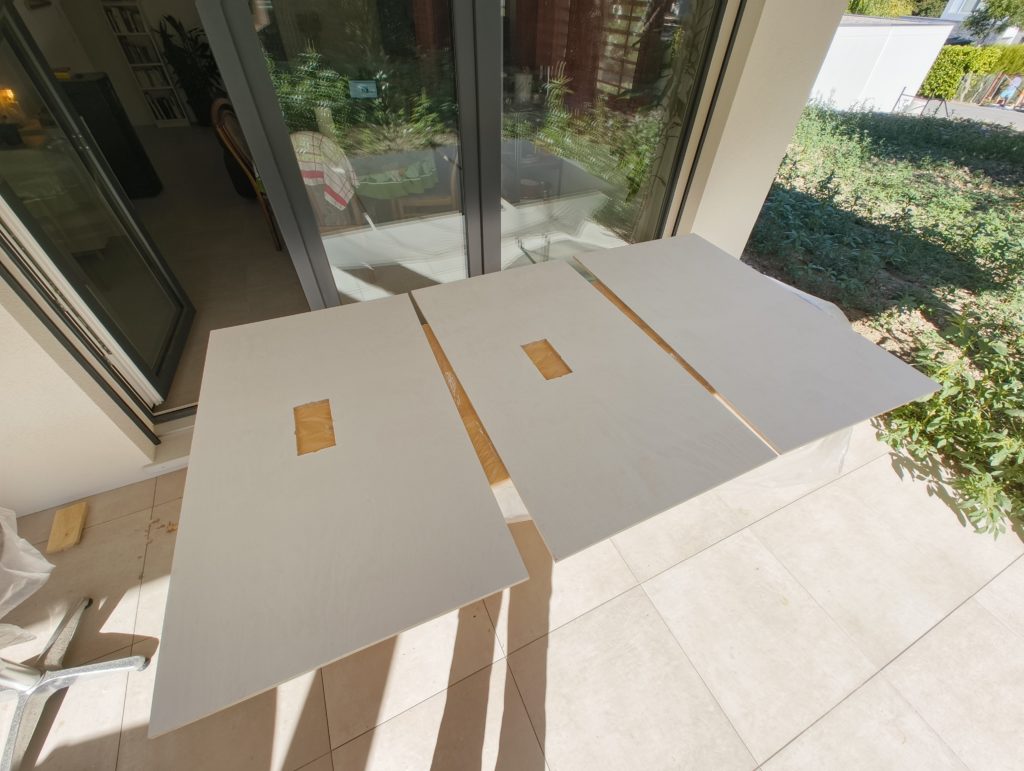
When the panels were cut, I was helped to screw them in place
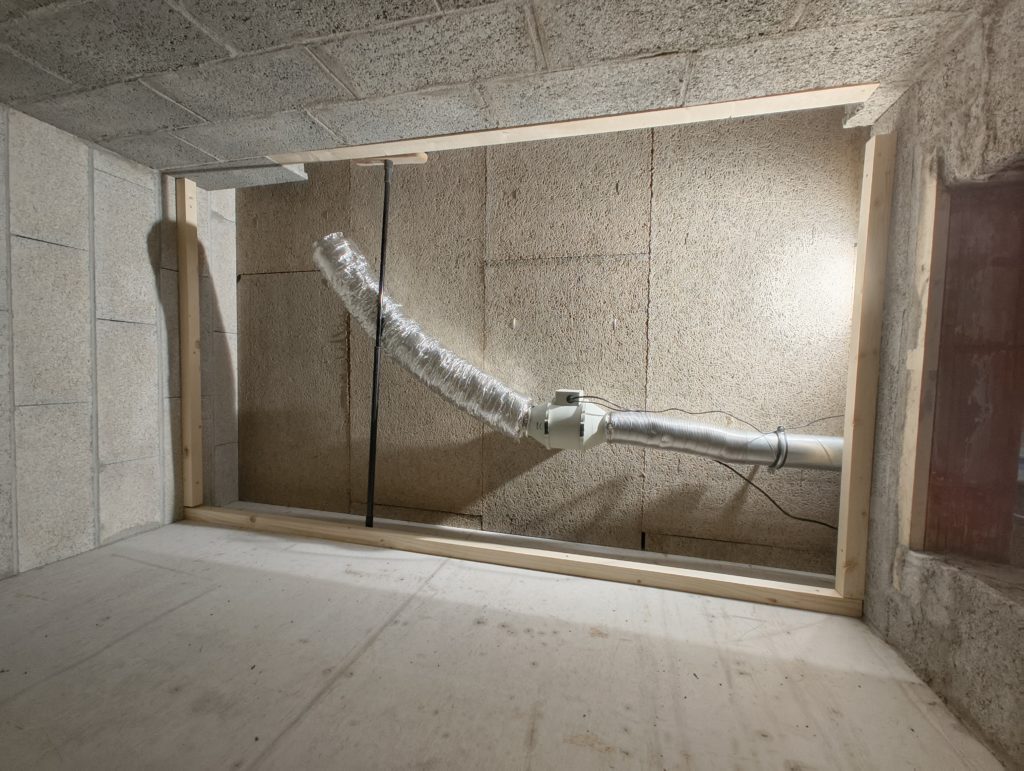
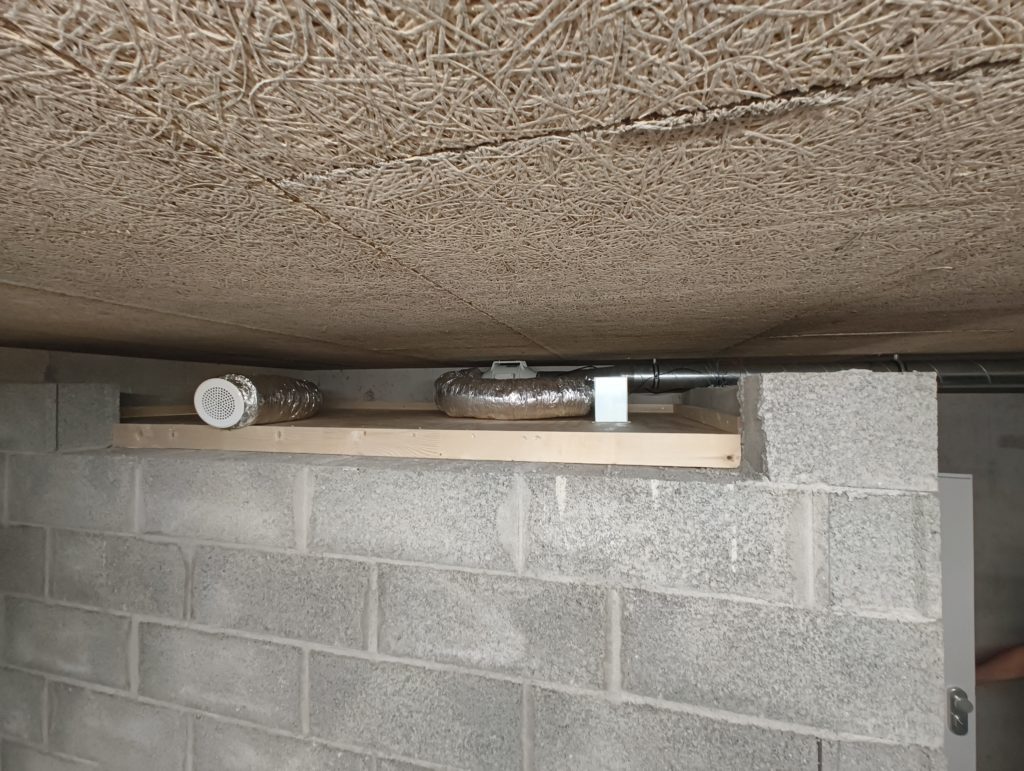
For the ventilation I use a variable speed fan that gets air next to an outside window. The air is then pushed trough a sound absorbing duct into the air vent. I carefully selected an air vent and a fan that can push a LOT of air if needed, for example if it gets too warm in the cell. In practise, you need just a very small breeze, so my fan will run like 20% and be very silent.
I put also sound absorbing duct on the exhaust port, so the sound is not going from outside to inside.
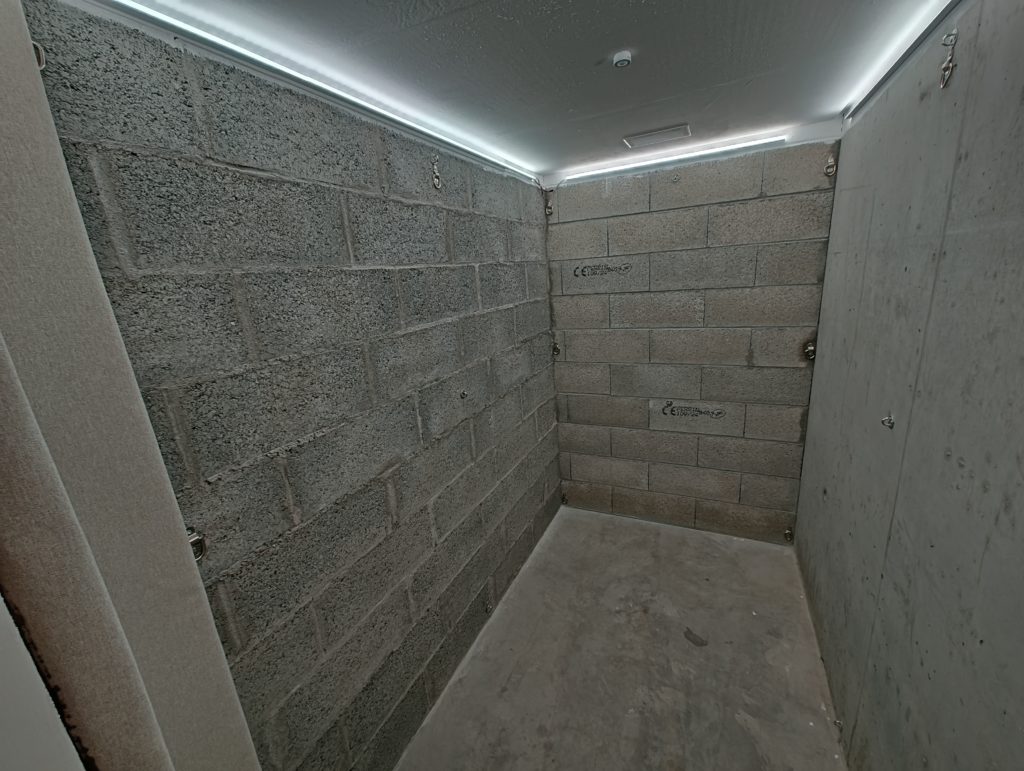
Lights
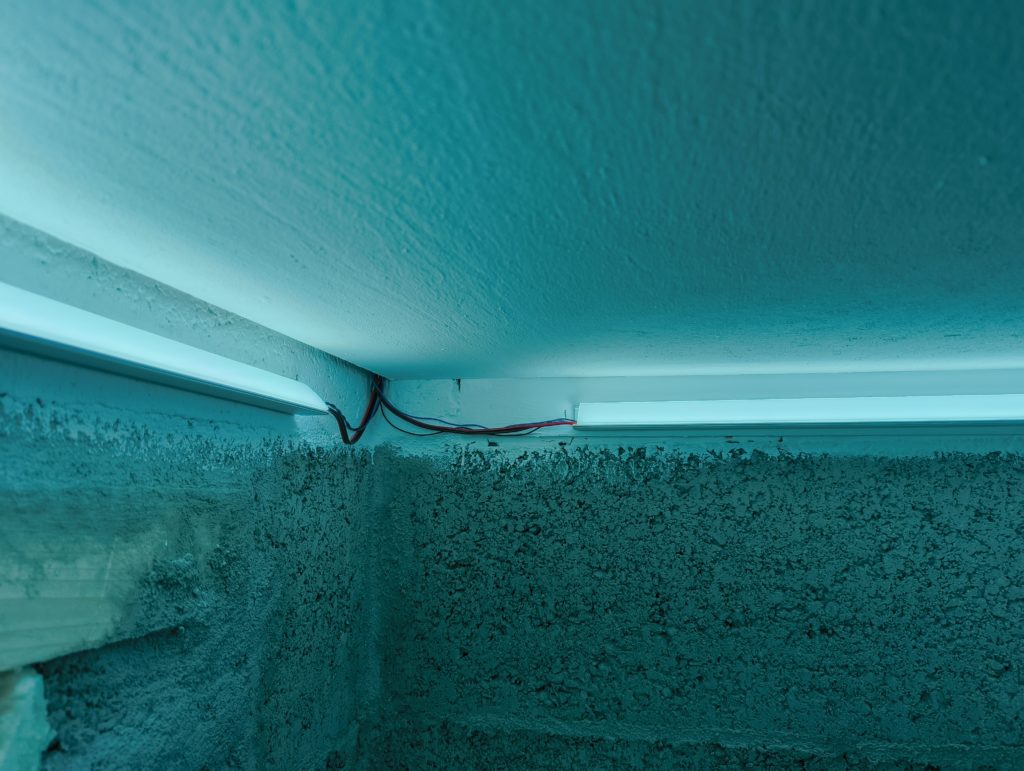
For the lights I bought two 3 meters led strips from china. The srips I chose use 24V power, have 720 leds/m and use the chip WS2811 to control segments after segments independantly.
I used an ESP32 microcontroller that I had lying around with the firmware WLED to control the lights over wifi and into my domotic software.
The leds are then embedded into aluminium rails.
Padding
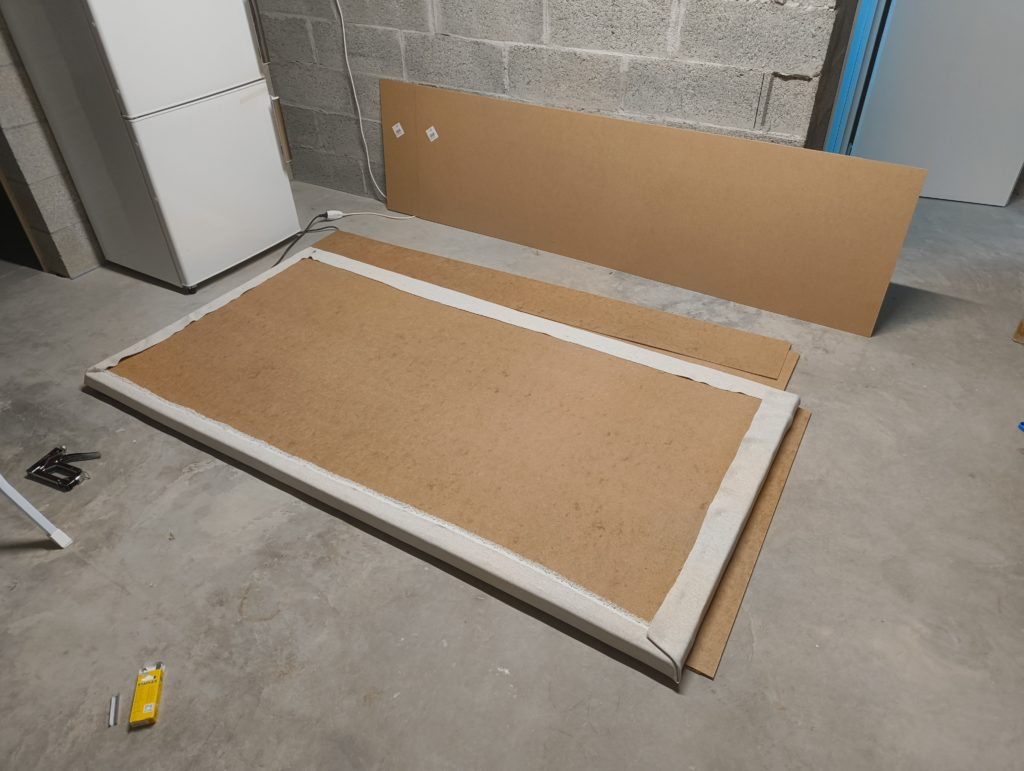
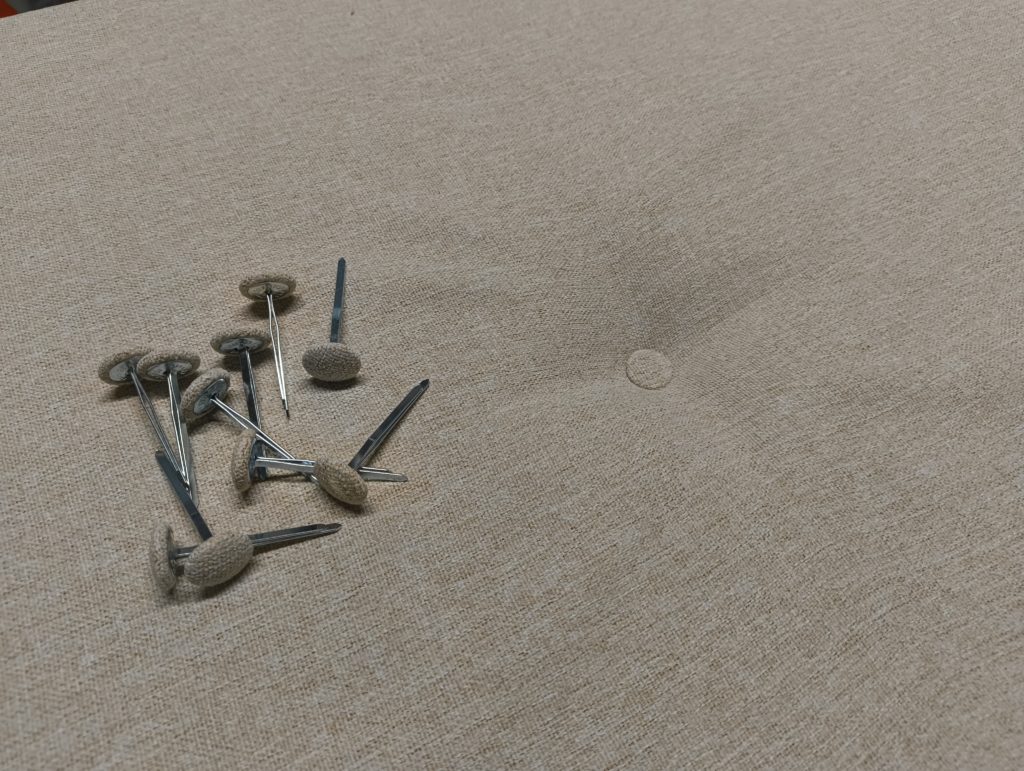
It would never be a padded cell if there was no padding ! So, how do we do that ? Well, nothing more easy : get some foam, wooden backplane, any type of covering or fabric and staple it on the padding !
I did a small prototype to have a feel for it, then liked it and proceeded.
I ordered piles of 5cm thick foam, 15m of fabric with a design that I like and big panels of wood. The wood is thin, it doesnt need to be strong, it just needs to hold the foam and fabric in place.
The panels are then simply glued to the wall !
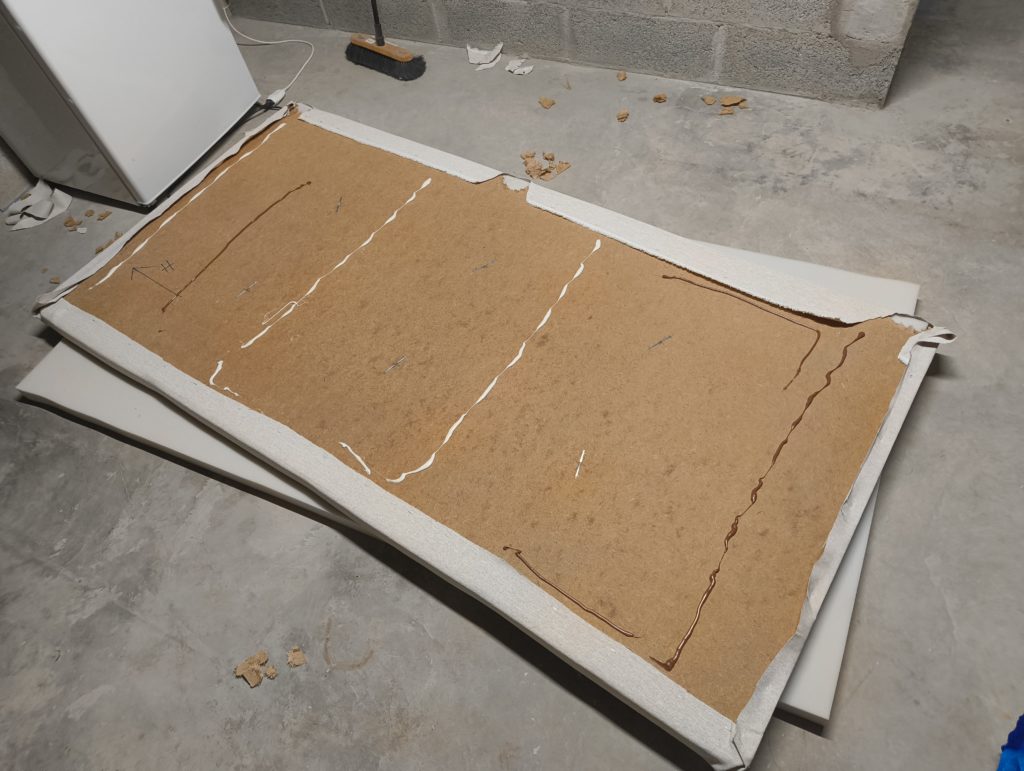
Oh wait wait wait ! Before gluing the panels, let’s add anchor points inside the cell !!
Webcam & remote monitoring
I installed a webcam, a microphone, a temperature sensor, then everything goes onto my Home Assistant dashboard.

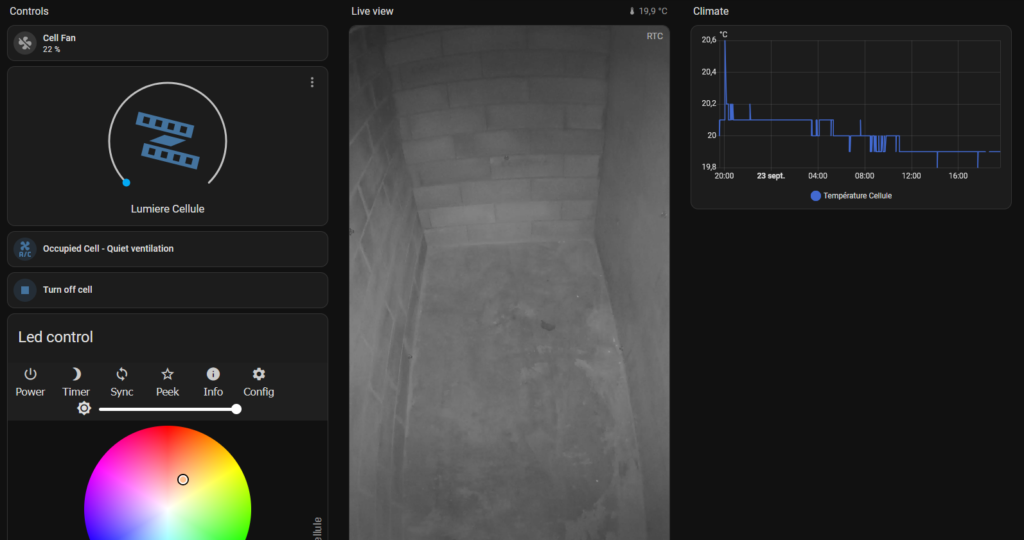
On the dashboard I can control the light, the fan, view the video with sound, add evil strobe effects on the lights,…
Cell cost breakdown
It is not a cheap project I must admit, the total is several thousand euros. But it will last for years.

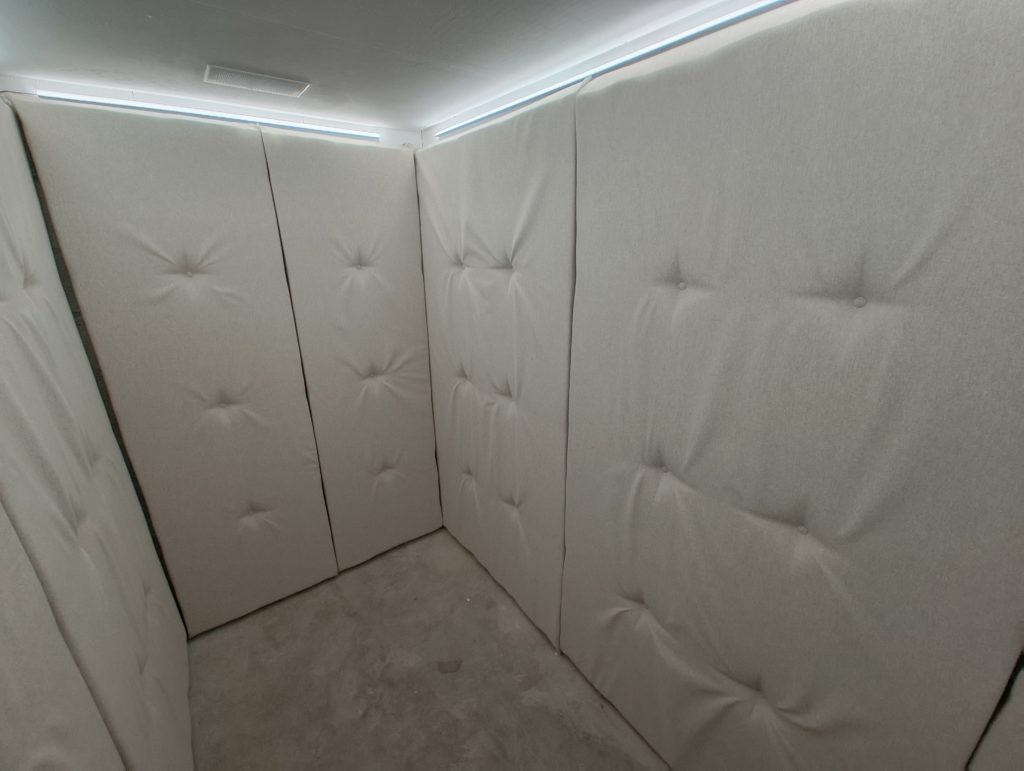
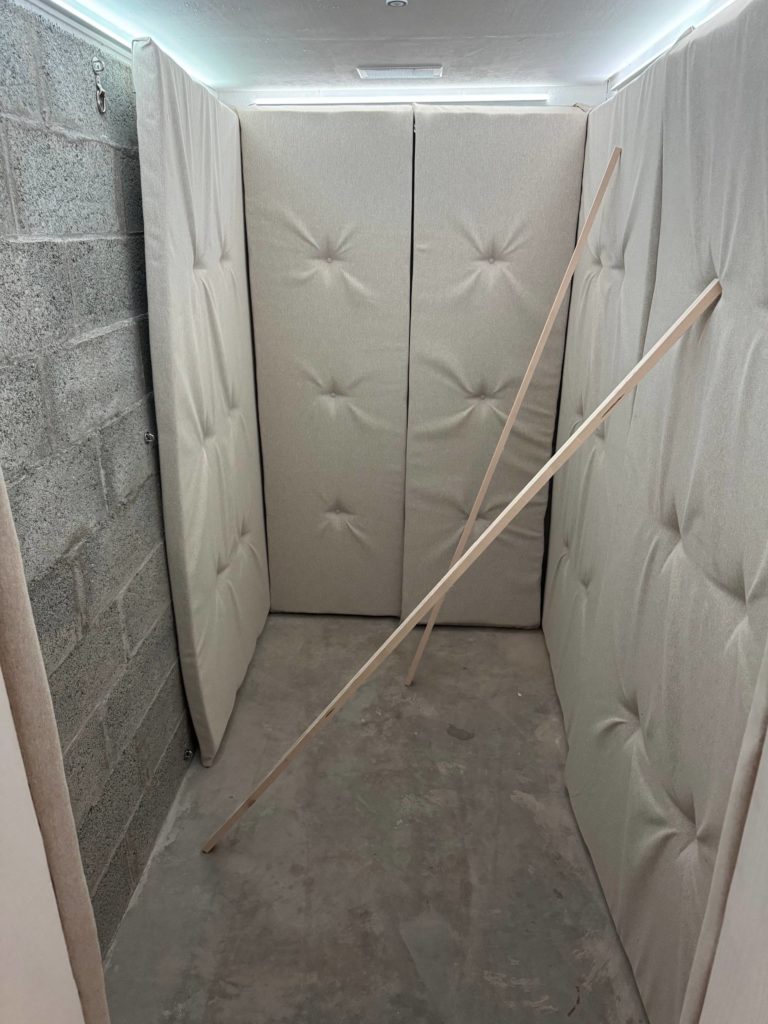
The finished cell
And here it is (almost) finished ! As of writing, I need still do build padded panels for the floor. This did not stop me from doing intense testing of the cell over a week-end 🙂